Project with my Grandson

Nuts

Well Known Member
Supporting Member 10
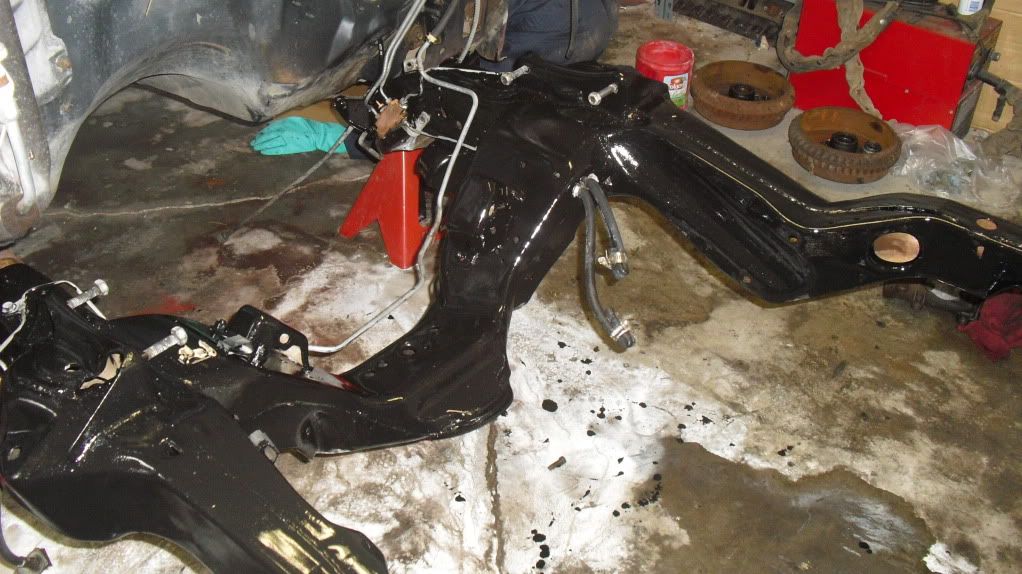
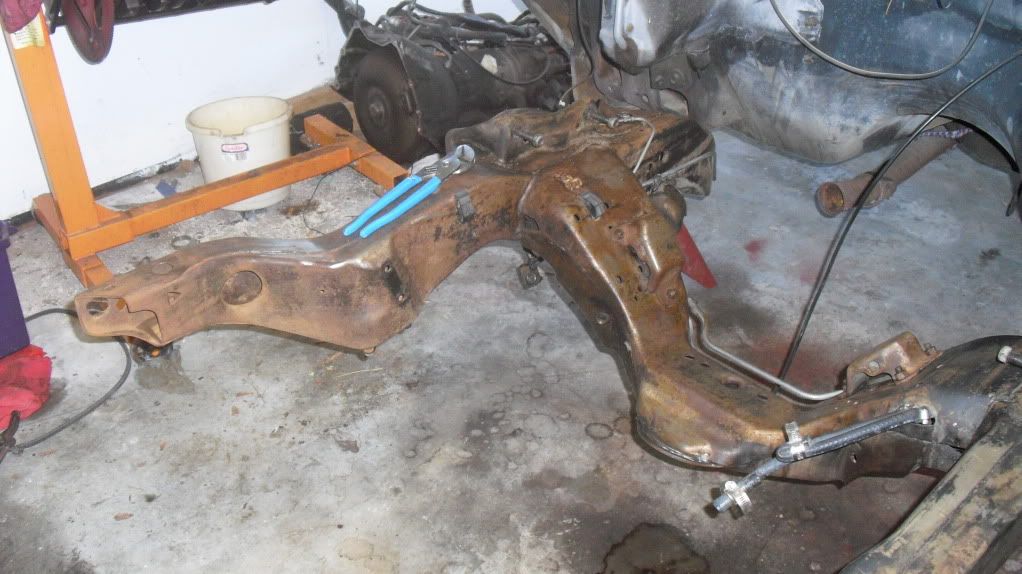
Okay thanks to all for your responses, but I've still got a problem...:crazy:bang:bang

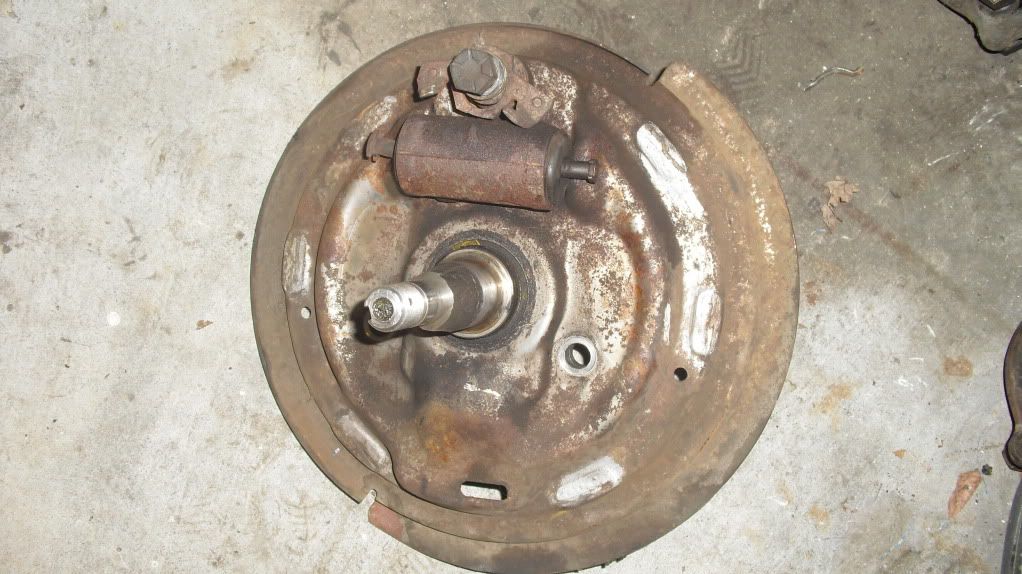
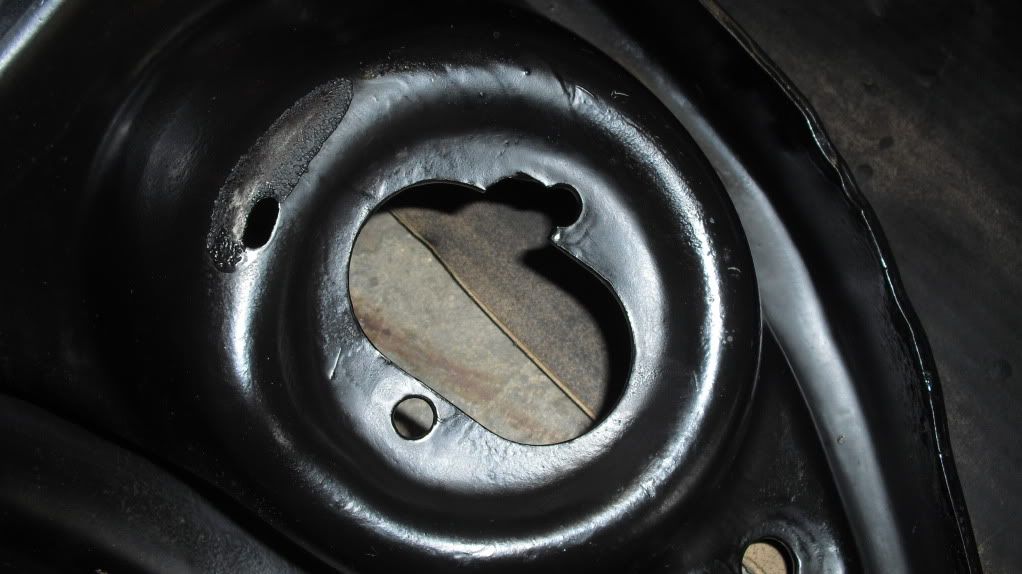
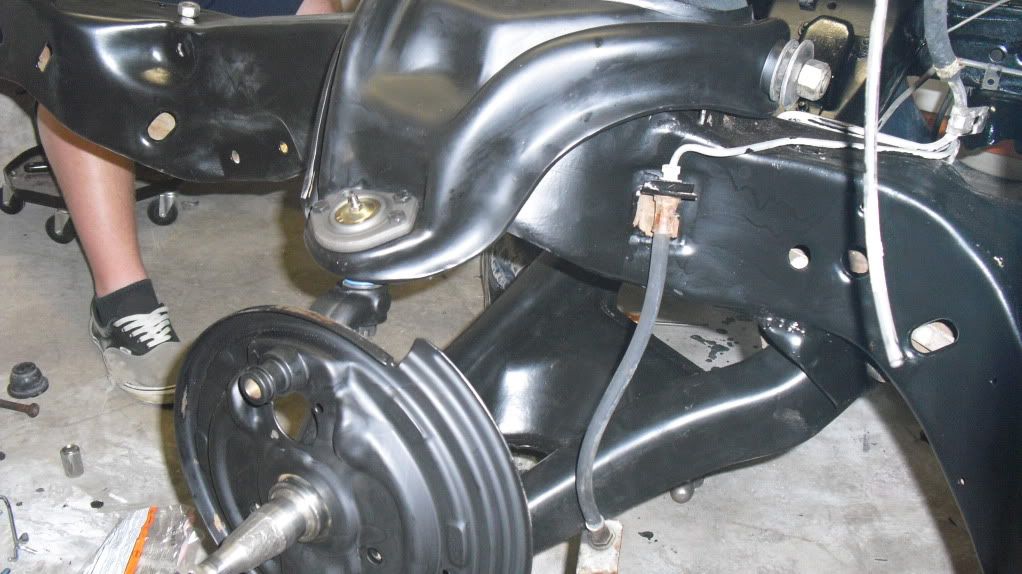
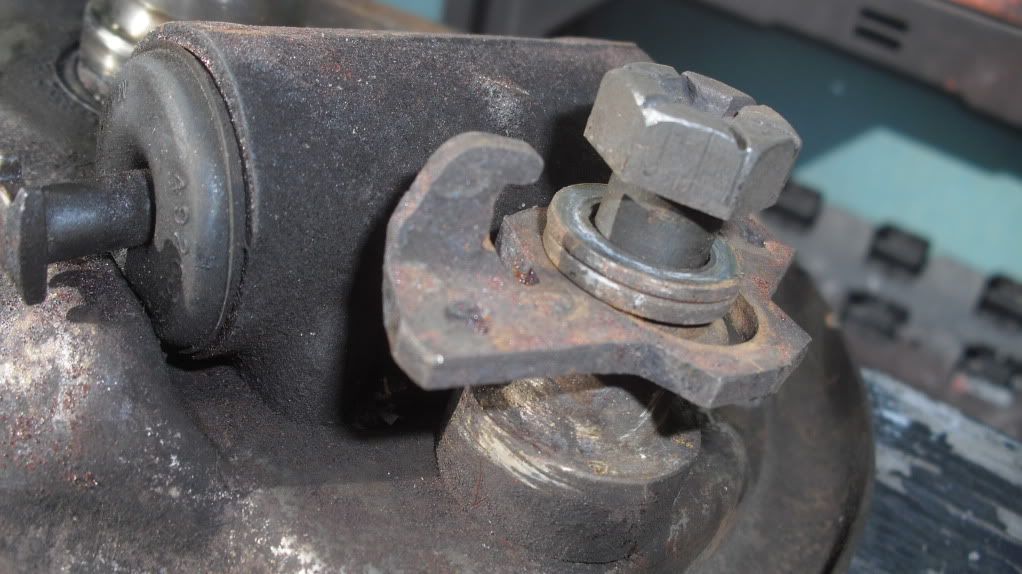
Here is the backing plate and the bolt holding it on ??
CIMG3606.jpg


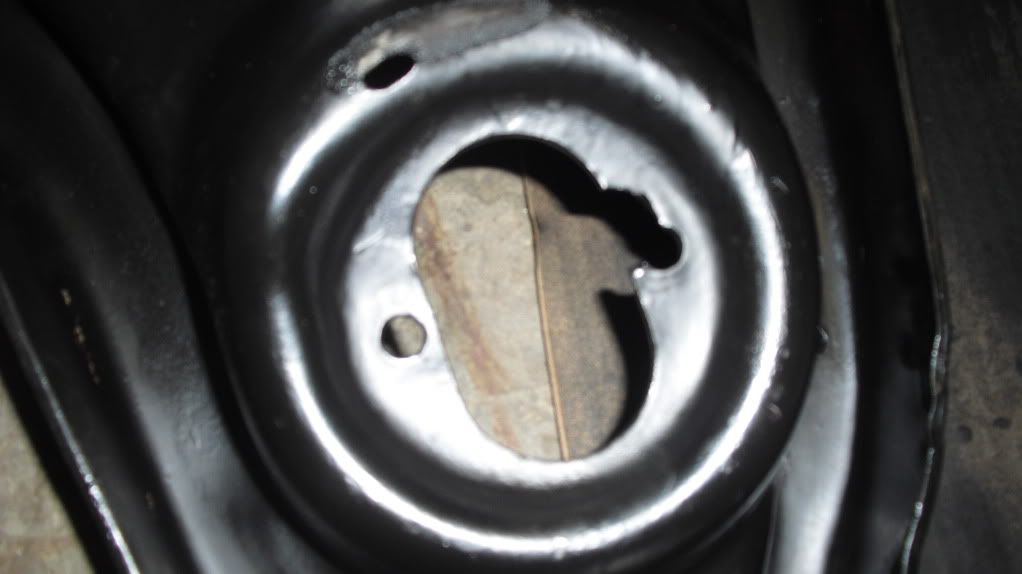
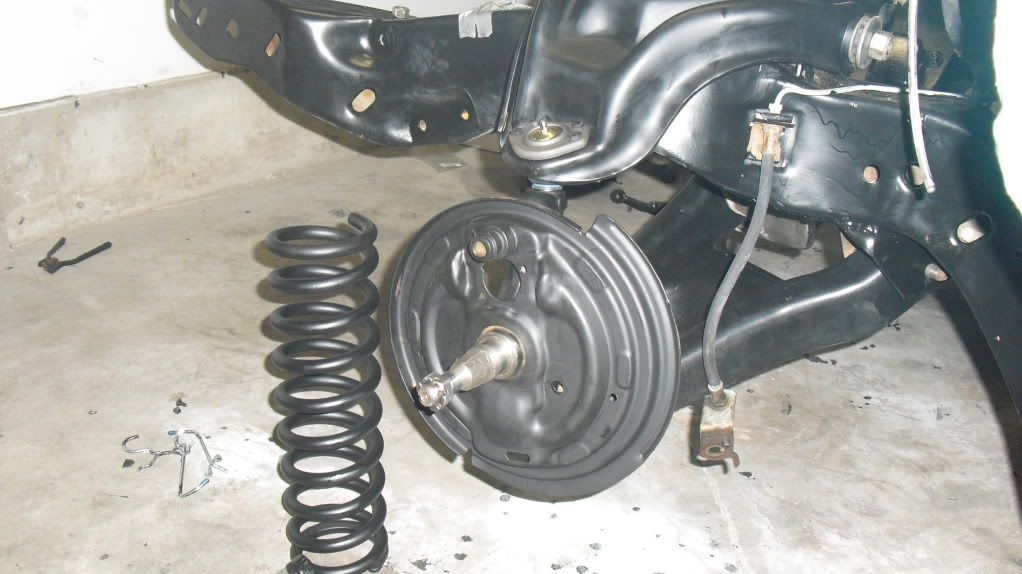
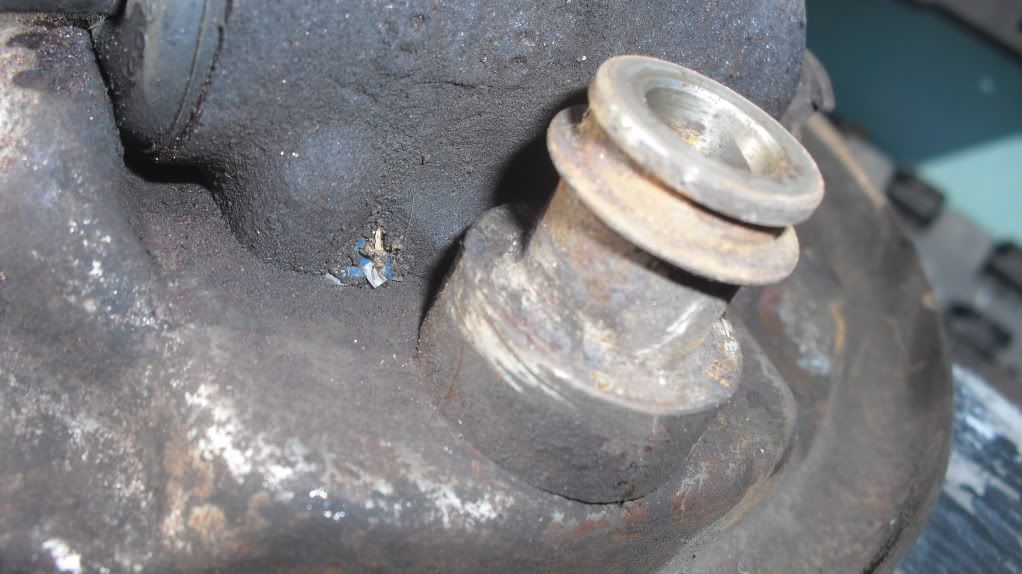
Here is what you get when you take out the bolt...
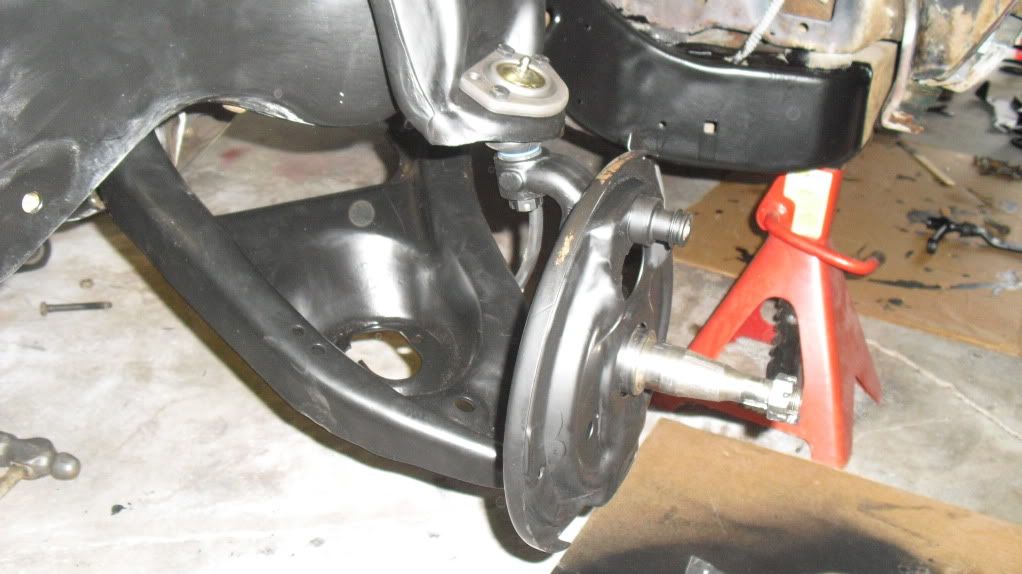
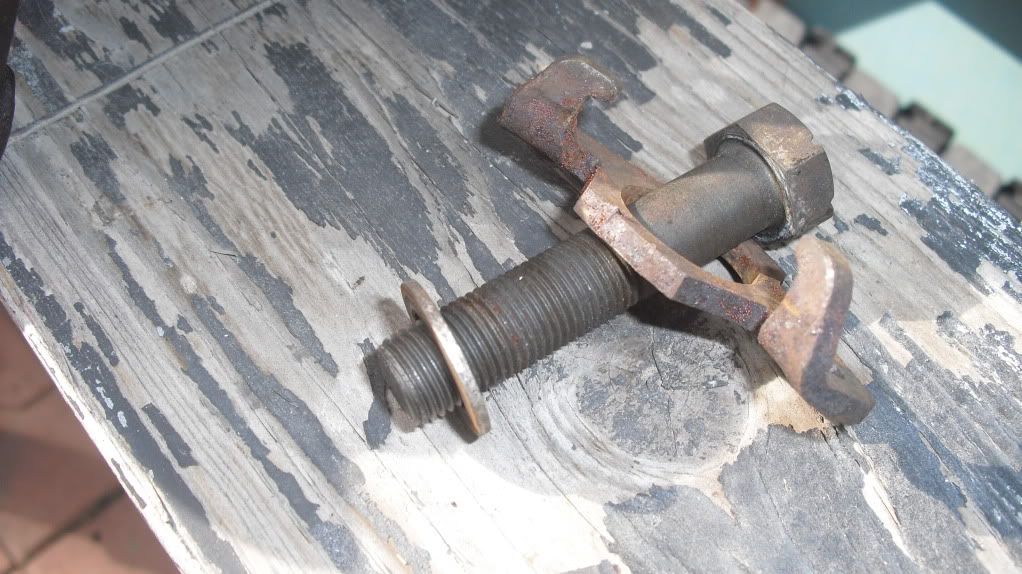
CIMG3605.jpg


Here be the bolt:
CIMG3604.jpg


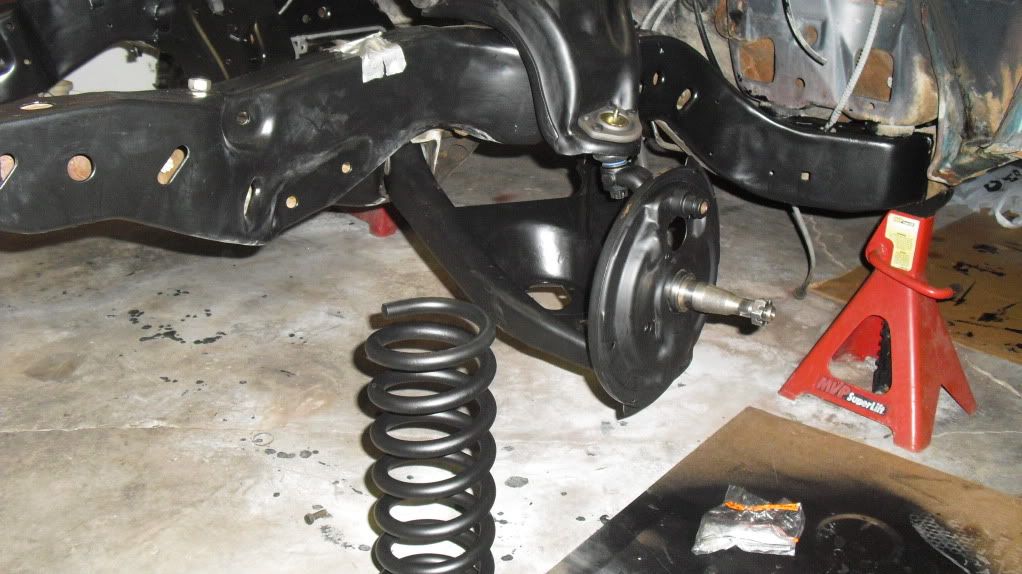
But the back plate is still not moving !!! I know the brake cyclinder is bolted to the backing plate, I've got the other one off. What else could possibly be holding this thing together ?? Maybe I need to just quit worrying about it and paint it all together ?

Bill
 

Ronnie Russell

Well Known Member
Supporting Member 2
Hey Bill, Wire brush it, paint it, call it a day. Remember the adage, " Don't break more than you fix".:roll
 

62impala409

 
Supporting Member 1
That POR15 is good stuff. I have used it on some of my projects. The main reason we went with the GM paint was to get the correct sheen for the satin black on the cars we are showing, some for points. Leo
 

de31168

Well Known Member
Time to bring out the best tool in the business, a BFH. Haha. If you look at the top picture and middle pictures you posted of the assembly, look down about a quarter inch from the bottom of the pic right in the middle. See where that tube the bolt came out of meets the backing plate? See that big dark black area that indicates a gap between the pieces? Shoot rust buster in there to help lube it, then maybe a flat screwdriver or chisel and give it a few whacks. Nothing crazy so you don't bend the backing plate, but enough to break free 40+ years of dirt, grime, and corrosion. Also as a tip, I don't know if these are the same as my 59, but the backing plates are side dependant. They are stamped differently, so do one side at a time or keep them at opposite ends of the garage or take lots of pictures so you know what went where.
 

Nuts

Well Known Member
Supporting Member 10
Well we took Ronnie's advice and cleaned it and painted it... Here is a look at some of the progress...

Getting ready to paint...
CIMG3607.jpg


CIMG3608.jpg


Progress...
CIMG3611.jpg


CIMG3618.jpg


The Inspector General !!!!!
CIMG3617.jpg

CIMG3619.jpg


Now we can start putting things back together...:pop:coffee:)
CIMG3614.jpg


Just a few more frame parts to clean up and paint, then get the new bushings and ball joints installed and she will be a "rolling" project again. Then get the engine buttoned up and installed then some paint !!! I know the Grandson is tired of cleaning and wants to see a real car again. Soon, I hope !!! :beer:cool:

Bill
 

jdk971

Well Known Member
Supporting Member 6
very good lesson for the grandson. nothing is free. keep up with the good work. jim
 

Nuts

Well Known Member
Supporting Member 10
I haven't updated for awhile, so I thought I'd let you all see the progress !!!

From This:
CIMG3597.jpg

CIMG3599.jpg


To This:
CIMG3614.jpg

CIMG3664.jpg

CIMG3663.jpg


Makeing some good progress and things are about ready to start assembly instead of clean and teardown.

One thing popped up that I don't know if I should be concerned about is this broken corner on the lower control arm, where the shock mounts. I was thinking we could just tack a washer on or maybe not worry about it at all ??

Your thought ??
CIMG3667.jpg

CIMG3668.jpg


Enjoy
Bill
 

Kdurgin

Well Known Member
It would probably would be fine, but I just cant stand to leave things that way. I personally would do a weld repair and grind it back so it would be undetectable.
 

Nuts

Well Known Member
Supporting Member 10
Well, we made some good progress today on the project. This week I got the new bushing pressed into the upper and lower control arms and today we started putting something back together instead of tearing apart.

My son and grandson working on the the front end parts....
CIMG3691.jpg

Well maybe he's texting !!!!

Here we go....
CIMG3694.jpg


Some parts hung...
CIMG3693.jpg


CIMG3692.jpg


Now for the real problem, how do I get that big tall spring in there ????
CIMG3695.jpg


CIMG3696.jpg


CIMG3689-1.jpg


Thanks Bill
 

58 Apache

Well Known Member
Supporting Member 2
:crazy Looks like it's time for the floor jack and the chain to get that spring where it will do some good. Or you could get some air suspension from Brain and make the job easy.:roll
 

Nuts

Well Known Member
Supporting Member 10
Damn it !!!! There should be a manuel or something to tell you how to do this ???? We thought we were making good time, putting things back together.....

CIMG3692.jpg


Oh, okay - I just pulled them together to make sure everything was coming together and see how some of the other parts fit. Just finger tight on everything, springs are set for next weekend.. Just thought I'd see what kind of attention it might stur up here... Checking to see if everyone survived Thanksgiving and minds are still working...

Thanks
Bill
 

Nuts

Well Known Member
Supporting Member 10
Dan,

Could you stop by with the front end loader, on Sunday.... Sure could use something to hold the frame down, without the motor mounted !!!

Bill
 
Top